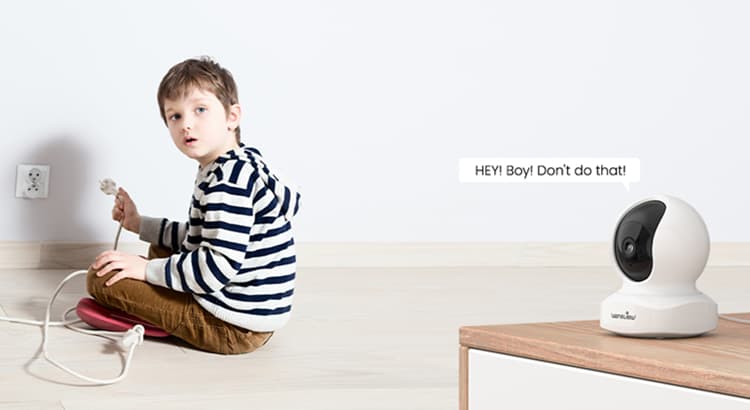
Wireless cameras have become an integral part of modern security systems, offering flexibility and convenience.
If you’re wondering how to connect your wireless camera to Wi-Fi, fear not – we’ve got you covered.
Follow this step-by-step guide to ensure a seamless connection and get your camera up and running in no time.
Step 1: Power Up Your Wireless Camera
Before diving into the Wi-Fi setup, ensure your wireless camera is properly powered. Connect it to a reliable power source using the provided adapter or battery, depending on your camera model.
Step 2: Locate the Camera’s IP Address
Access your camera’s settings or user manual to find its IP address. This unique identifier is crucial for connecting your camera to Wi-Fi. It usually comes in the format of “192.168.x.x.”
Step 3: Connect the Camera to Your Router
Using an Ethernet cable, connect your camera directly to your router. This temporary wired connection will allow you to access the camera’s settings for Wi-Fi configuration.
Step 4: Access the Camera’s Web Interface
Open a web browser on your computer or smartphone and enter the camera’s IP address in the address bar. This will take you to the camera’s web interface. Log in using the provided credentials.
Step 5: Navigate to Wi-Fi Settings
Within the camera’s settings, locate the Wi-Fi or Wireless section. This is where you’ll configure the connection to your Wi-Fi network.
Step 6: Select Your Wi-Fi Network
Choose your Wi-Fi network from the list of available networks. Enter the network password when prompted. Ensure you enter the correct credentials to establish a successful connection.
Step 7: Save and Reboot
Once you’ve entered the Wi-Fi details, save the settings and reboot your camera. This allows the changes to take effect. After the reboot, disconnect the Ethernet cable as your camera should now be connected to Wi-Fi.
Step 8: Verify the Connection
Wait a few moments for the camera to establish a connection to your Wi-Fi network. You can verify the connection by checking the camera’s web interface or using the manufacturer’s mobile app if applicable.
Step 9: Install Mobile App (If Required)
If your camera comes with a dedicated mobile app, download and install it on your smartphone. Follow the app’s instructions to add your camera and monitor its feed remotely.
Step 10: Final Checks
Perform final checks to ensure everything is in order. Test the camera’s live feed, motion detection, and any additional features to confirm that the connection to Wi-Fi is stable.
Congratulations! You’ve successfully connected your wireless camera to Wi-Fi. Enjoy the flexibility and convenience of monitoring your space remotely with your newly configured wireless camera system.


