With the increasing need for robust home security solutions, Blink Outdoor Cameras have emerged as a popular choice for homeowners.
This comprehensive installation guide aims to walk users through the process of setting up their Blink Outdoor Cameras, ensuring a seamless and effective surveillance system.
Pre-Installation Preparation
Before diving into the installation process, it’s crucial to conduct thorough pre-installation preparation.
This includes unboxing and checking package contents, reviewing the user manual and documentation, and ensuring you have all the necessary tools and equipment for a smooth setup.
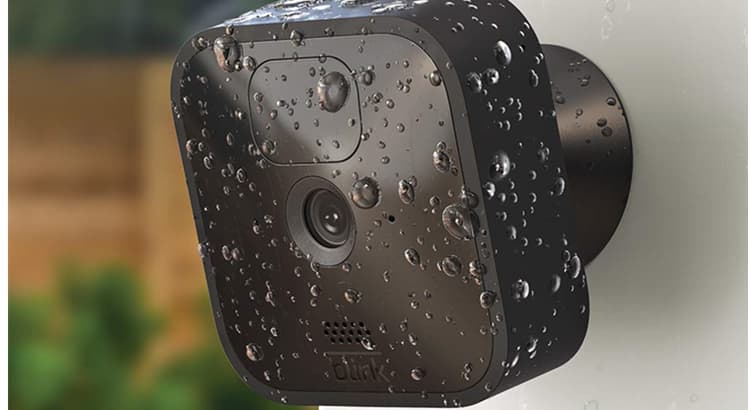
Choosing Optimal Camera Placement
Strategic camera placement is key to maximizing the effectiveness of your surveillance system.
Identify key surveillance areas, consider outdoor exposure and weather resistance, and ensure optimal wireless signal strength by placing cameras within range of the Blink Sync Module.
Camera Mounting and Setup Process
Follow these steps to mount and set up your Blink Outdoor Cameras:
1. Install batteries and power up the camera.
2. Choose the mounting option that suits your needs – wall, ceiling, or freestanding.
3. Connect the camera to the Blink Sync Module using the provided instructions.
Sync Module Configuration
Proper configuration of the Blink Sync Module is essential for seamless connectivity.
Consider placement and connectivity guidelines, sync your cameras to the Blink App, and configure Wi-Fi settings to establish a reliable connection.
Mobile App Setup and User Account Creation
Ensure a smooth setup by following these steps:
1. Download and install the Blink Home Monitor App.
2. Create a Blink account or log in if you already have one.
3. Sync your cameras to the Blink App dashboard for centralized control.
Customizing Camera Settings
Tailor your Blink Outdoor Cameras to your specific needs by adjusting settings:
1. Fine-tune motion detection sensitivity.
2. Set up activity zones for targeted surveillance.
3. Explore additional features such as two-way audio, night vision, and more.
Testing and Troubleshooting
Conduct initial camera tests to ensure everything is functioning correctly.
Address common installation challenges and troubleshoot connectivity issues by referring to the Blink troubleshooting guide.
Integration with Smart Home Ecosystems
Explore the full potential of your Blink Outdoor Cameras by integrating them with smart home ecosystems.
Check compatibility with virtual assistants like Alexa and Google Assistant, and consider connecting Blink to other smart home devices for a more comprehensive security system.
Maintenance and Firmware Updates
Maintain optimal camera performance by:
1. Regularly inspecting and cleaning cameras.
2. Staying informed about firmware updates for enhanced features and security.
3. Troubleshooting common maintenance issues as they arise.
User Tips and Best Practices
Make the most of your Blink Outdoor Cameras with these tips:
1. Maximize battery life through efficient use.
2. Consider Blink subscription plans for enhanced features.
3. Participate in the Blink community forums to share insights and experiences.
Conclusion
In conclusion, this Blink Outdoor Camera Installation Guide serves as a comprehensive resource for users looking to set up an effective and reliable home security system.
By following these guidelines, users can ensure optimal performance, seamless integration, and long-term satisfaction with their Blink Outdoor Cameras.
Remember to share your feedback and experiences with the Blink community to contribute to the ongoing improvement of this innovative surveillance solution.


