As the demand for smart home security continues to rise, the Alkivision Light Bulb Camera has become a popular choice for homeowners seeking a discreet and efficient surveillance solution.
This step-by-step setup guide aims to assist users in seamlessly configuring their Alkivision Light Bulb Cameras for optimal performance.
Unboxing and Pre-Setup
Before diving into the setup process, it’s essential to conduct thorough pre-setup preparations:
1. Unbox and check the package contents.
2. Read the user manual and accompanying documentation.
3. Ensure compatibility with your devices and network.
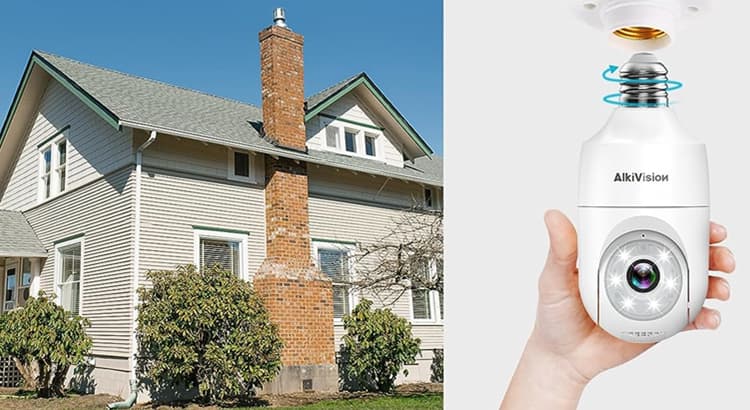
Installing the Alkivision Light Bulb Camera
Follow these steps to install your Alkivision Light Bulb Camera:
1. Screw in the light bulb camera securely.
2. Connect the camera to a power source.
3. Position the camera for optimal surveillance coverage, considering angles and coverage areas.
Connecting to Wi-Fi and Mobile App
Streamline the connection process by following these steps:
1. Download the Alkivision App from the respective app store.
2. Create a new account or log in if you already have one.
3. Connect the camera to your Wi-Fi network through the app.
Syncing with Smart Home Ecosystems
Explore the full potential of your Alkivision Light Bulb Camera by integrating it with smart home ecosystems:
1. Check compatibility with virtual assistants such as Alexa and Google Assistant.
2. Explore compatibility with other smart home devices to enhance overall home security system integration.
Customizing Camera Settings
Tailor your camera to your specific needs by adjusting settings:
1. Fine-tune video quality and resolution.
2. Set up motion detection sensitivity to match your preferences.
3. Configure alerts and notifications for timely updates on activity.
Testing Camera Performance
Ensure your camera is functioning correctly by:
1. Conducting initial camera tests to verify video and audio quality.
2. Testing night vision capabilities to ensure optimal performance in low-light conditions.
3. Confirming two-way audio functionality for seamless communication.
Troubleshooting Common Issues
In the event of issues, troubleshoot effectively by:
1. Addressing connectivity issues promptly.
2. Troubleshooting video and audio problems with the help of the user manual.
3. Seeking assistance from Alkivision support for more complex issues.
Security and Privacy Measures
Prioritize the security of your camera by:
1. Setting up robust user authentication to control access.
2. Configuring access controls to restrict unauthorized usage.
3. Ensuring encryption and data protection for sensitive information.
Regular Maintenance and Updates
Maintain optimal performance by:
1. Regularly checking for firmware updates to access new features and improvements.
2. Cleaning and maintaining the camera for clear visuals and prolonged durability.
3. Ensuring long-term reliability through consistent upkeep.
User Tips and Best Practices
Maximize your camera’s potential with these tips:
1. Implement strategies to maximize camera performance and battery life.
2. Consider subscribing to Alkivision plans for enhanced features.
3. Participate in user communities to share insights and learn from others’ experiences.
Conclusion
In conclusion, this Alkivision Light Bulb Camera setup guide provides users with a comprehensive roadmap to configure their devices effectively.
By following these steps and embracing best practices, users can ensure optimal performance, enhanced security, and a seamless integration of their Alkivision Light Bulb Cameras into their smart home ecosystems.
As users embark on this journey, sharing feedback and experiences within the Alkivision community contributes to the ongoing improvement and evolution of this innovative surveillance solution.


