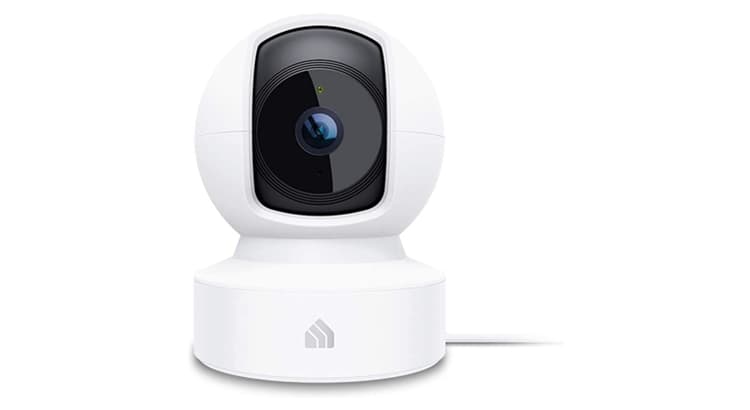
In the era of smart technology, connecting your surveillance camera to Wi-Fi opens up a realm of possibilities, allowing you to monitor your property remotely and enhance your home security.
If you’re wondering, “How do I connect my surveillance camera to Wi-Fi?” this step-by-step guide will walk you through the process, ensuring a seamless and secure connection.
Step 1: Choose a Wi-Fi-Enabled Surveillance Camera
Ensure that your surveillance camera is equipped with Wi-Fi connectivity features. Most modern cameras, especially those designed for smart home security, come with built-in Wi-Fi capabilities. If your camera doesn’t have this feature, it might require a wired connection to your router.
Step 2: Power Up Your Surveillance Camera
Before initiating the connection process, power up your surveillance camera and place it within a reasonable range of your Wi-Fi router. Having the camera close to the router during the initial setup minimizes the chances of connectivity issues.
Step 3: Install the Mobile App
Many Wi-Fi-enabled surveillance cameras come with dedicated mobile apps for seamless integration. Visit the app store on your smartphone or tablet and download the official app associated with your camera brand. Popular brands like Arlo, Nest, and Ring have user-friendly apps for their respective cameras.
Step 4: Create an Account and Log In
Once the app is installed, open it and create an account if you haven’t already. Follow the on-screen instructions to provide necessary details and set up a secure account. If you already have an account, log in using your credentials.
Step 5: Follow In-App Setup Instructions
Within the app, look for the option to add a new device or set up your camera. The app will guide you through the process, usually requesting permission to access your device’s camera and location. Grant the necessary permissions to proceed.
Step 6: Connect to Wi-Fi
During the setup, the app will prompt you to connect your surveillance camera to Wi-Fi. Here’s a general outline of the steps:
a. Select your Wi-Fi network from the available options.
b. Enter your Wi-Fi password when prompted.
c. Wait for the camera to establish a connection.
Step 7: Position the Camera and Test Connectivity
Once your surveillance camera is successfully connected to Wi-Fi, position it in the desired location. Ensure it has a clear view of the area you want to monitor. Test the connectivity by accessing the live feed through the mobile app. This step ensures that the camera is transmitting data effectively over the Wi-Fi network.
Step 8: Customize Settings
Explore the app’s settings to customize preferences, such as motion detection sensitivity, recording schedules, and notification preferences. Tailoring these settings ensures that your surveillance camera operates according to your specific needs.
Step 9: Secure Your Connection
To enhance security, consider enabling features such as two-factor authentication within the app. This adds an extra layer of protection to prevent unauthorized access to your surveillance camera.
Conclusion
In conclusion, connecting your surveillance camera to Wi-Fi is a straightforward process that enhances your ability to monitor your property remotely.
By following these step-by-step instructions and customizing settings to fit your preferences, you can enjoy the convenience and peace of mind that comes with seamless connectivity.
Now, with your surveillance camera linked to Wi-Fi, you’re ready to stay vigilant and connected, no matter where you are.


