In the age of smart technology, pairing your security camera to your phone is a convenient way to keep a watchful eye on your home.
If you’re wondering, “How do I pair my security camera to my phone?” this straightforward guide will walk you through the process, ensuring a seamless connection for enhanced home security.
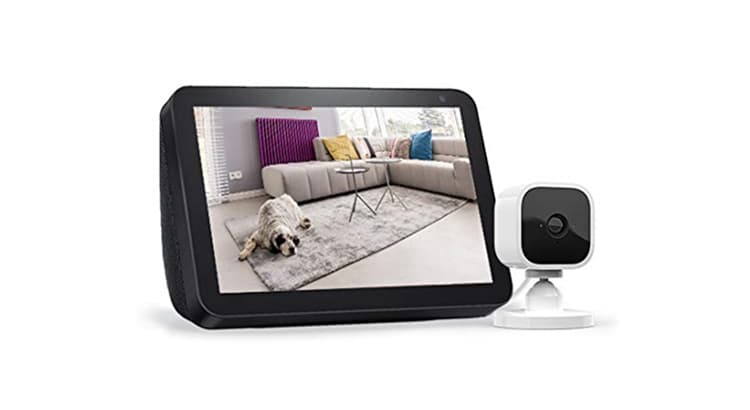
Step 1: Choose a Smartphone-Compatible Security Camera
Begin by selecting a security camera that is compatible with your smartphone. Many modern cameras come with dedicated mobile apps that facilitate easy pairing and remote monitoring. Popular brands such as Ring, Arlo, and Nest offer user-friendly apps for their respective cameras.
Step 2: Install the Mobile App
Visit the app store on your smartphone or tablet and download the official app associated with your security camera brand. The app is a crucial component for pairing and managing your camera, providing you with a user interface for configuration and monitoring.
Step 3: Create an Account or Log In
Upon opening the app, you may be prompted to create an account or log in if you already have one. Follow the on-screen instructions to provide the necessary details and set up a secure account. This account will serve as the bridge between your security camera and your smartphone.
Step 4: Power Up Your Security Camera
Before attempting to pair your camera with your phone, ensure it is properly powered. Connect it to a stable power source or insert fully charged batteries, depending on the camera model. Place the camera within a reasonable range of your Wi-Fi router for optimal connectivity.
Step 5: Initiate Pairing Mode
Access the settings or setup menu on your security camera to initiate the pairing process. This often involves pressing a designated button or following on-screen prompts. Refer to your camera’s user manual for specific instructions on how to put it into pairing mode.
Step 6: Connect to Wi-Fi
During the pairing process, your security camera will prompt you to connect it to your Wi-Fi network. Follow these steps:
a. Select your Wi-Fi network from the available options.
b. Enter your Wi-Fi password when prompted.
c. Wait for the camera to establish a connection.
Step 7: Scan the QR Code (if applicable)
Some cameras use QR codes to streamline the pairing process. If prompted, use your smartphone’s camera to scan the QR code displayed on the camera or in the app. This quick and secure method ensures a direct connection between your devices.
Step 8: Complete the Pairing Process
Follow any additional on-screen instructions to complete the pairing process. This may involve verifying your account, selecting camera preferences, and setting up notifications. Once done, your security camera is successfully paired with your phone.
Step 9: Test Remote Monitoring
Position your security camera in the desired location and test remote monitoring through the app. Access the live feed to ensure that the camera is transmitting data effectively to your smartphone. Adjust camera settings as needed to tailor the monitoring experience to your preferences.
Conclusion
In conclusion, pairing your security camera to your phone is a straightforward process that significantly enhances your home surveillance capabilities.
By following these simple steps and utilizing the features within the dedicated app, you can enjoy the peace of mind that comes with having direct access to your security camera’s feed anytime, anywhere.
Now, with your security camera seamlessly paired to your phone, you’re ready to stay connected and in control of your home security.


